WHAT TO DO WITH CHILDREN’S ARTWORK WHEN YOU CAN’T KEEP IT ALL
My children love creating artwork, anything from drawings and paintings to junk modelling with cardboard boxes and endless Lego constructions. I love them all and would like to keep everything but it’s just not realistic. Instead, check out this article for ideas on what to do with your children’s artwork when you can’t keep it all.
Keep a box for artwork once it’s just been finished
Keep a box for your children to put their finished artwork in when they hand it to you. Be sure to admire it first!
Sort through it regularly
Take some time each week or month to go through the box with your children. Separate the artwork into three separate piles. How often you go through it will depend on how many pieces of art your children create! At first it might be difficult to know where to begin but hang on in there as it gets easier with practice!
These piles will be:
- Keep – find a way to either display or do something creative with your favourite pieces (read on for some ideas)
- Throw away – Recycle the cardboard and paper, dismantle the Lego, throw away the rest
- Save a copy – Take good quality, well-lit photos of the rest and save the image files on your computer

Get your children on board and involved
Explain to your children (depending on their age and understanding) that it’s just not possible to keep everything they make, however much you love it all.
Let them know that if you kept everything there would be no place to store it so that it won’t get damaged over time. By keeping everything, their favourite pieces will get buried under everything else, so you won’t be able to find, see or appreciate them.
For many children, it’s the process of creation that’s the fun and most important part.
At first, of course, they might not understand and just feel you’re getting rid of things they spent time making.
But, once they see why you’re doing it and that you’re not throwing away anything they’re not happy for you to get rid of, then they’ll begin to understand, and it will become routine. My kids often ask if they can take a picture of something before they dismantle it or throw it away. They even scroll through the pictures of their artwork on my phone or computer too and pick out things they’d forgotten they’d made!

Make the whole process as fun as possible
Point out the pieces that you really love and explain why you love them. Ask them which are their favourites and why? Make your kids feel special about what they’ve made and that their artwork is valued.
That being said, you might need to be a bit ruthless when it comes to the ones you actually want to keep otherwise you’ll end up keeping a lot. Maybe sort everything into the three piles I mentioned above, and then go through the Keep Pile again, re-sorting that into the three piles. It just depends on how much creating your kids do – one a week is much easier than a whole colouring book!
Deal with the piles
Make sure that you throw away or recycle the things that you don’t want straightaway otherwise you or your kids might be tempted to dig through and sneakily put something back into the keep pile!
Take photos of all the artwork that you want to keep a record of, but not the actual piece itself. You can take photos of everything, not just those on paper, for example:
Drawings, paintings, play dough, Hama beads, Lego, building blocks, junk modelling. Basically, anything that you can take a photo of. I’ve even been asked to take photos of bug houses, flower gardens, arrangements of cuddly toys and probably more things that I can’t even recall.

For the keepers
For the one(s) that you want to keep, make sure you put it in a frame or find a place for it on the shelf straightaway otherwise it will end up in the pile of jobs waiting to do but you never get around to.
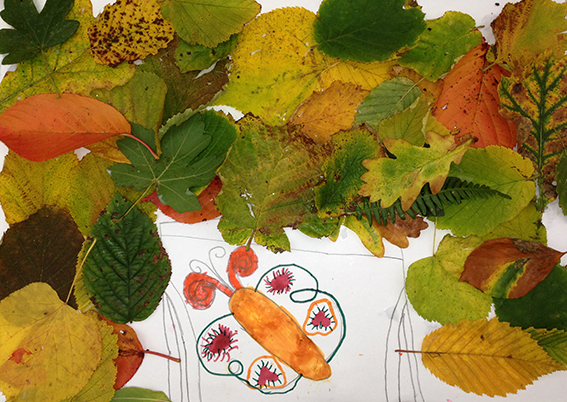
When it comes to Lego and junk modelling, sometimes if they’ve put a lot of effort into it, we’ll leave it on the side for a few days – in a prominent place so all can see. When there’s too much of a build up and we’ve no longer got any space left on that shelf then they’ll choose they favourite 2 or 3 and get rid of/dismantle/take photos of the others. That way there’s no build up, I can still dust around everything, but they can also see that their hard work has been valued.
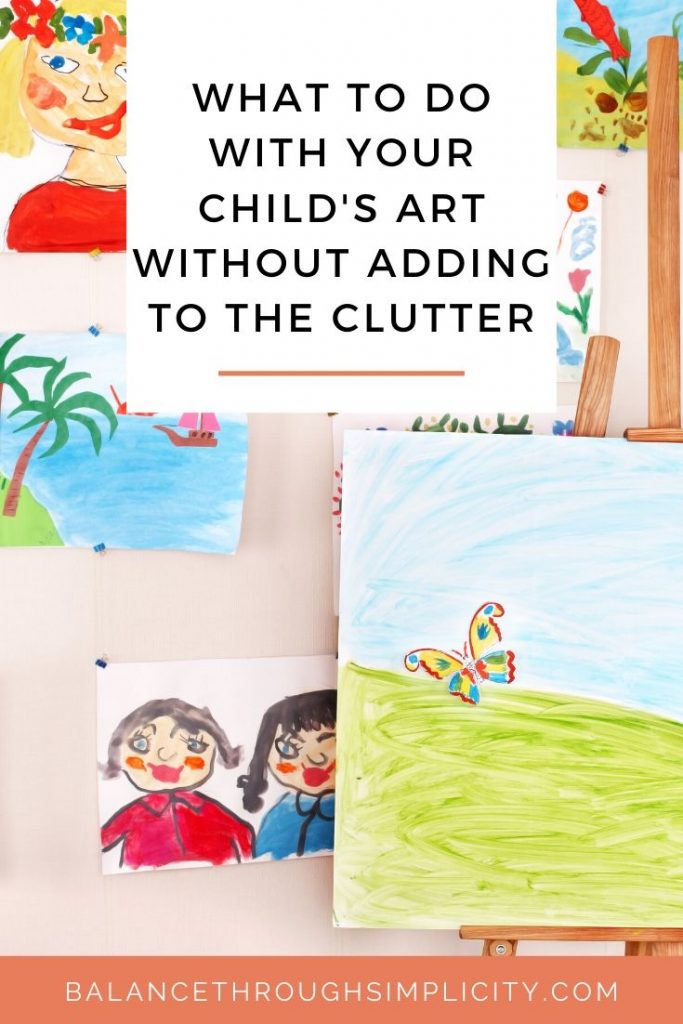
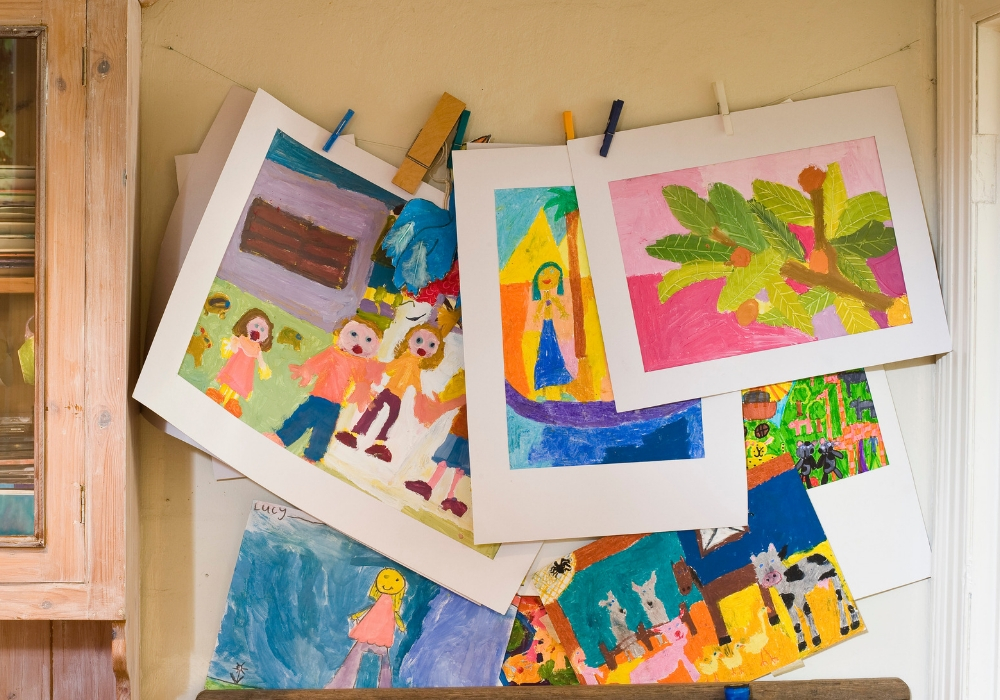
I really like to show them how proud they should be of what they’ve created so I have a gallery wall for some of their favourite pieces and I switch it around from time to time.
It’s got pride of place in the hall and is a talking point for visitors when they come in. The girls love it when they’re asked about their drawings and paintings.
Another trick might be that if there’s something special you want to keep but just don’t have space for at the moment, then why not take a photo and use it as a background on your computer desktop or as the home screen on your phone? Rotate the pictures from time to time.
Your children’s artwork is special and it’s easy to want to keep everything. But with a bit of practice you’ll find it easier choosing the pieces that are the most important to you and your children will enjoy learning and choosing with you.
Some other quick ideas for the artwork you can’t bear to throw away
- Pass it on to grandparents and relatives
- Use as gift wrap or in place of greeting cards
- Make a digital photo book (try www.snapfish.co.uk)
- Let your kids have a pin board in their bedroom where they can see their art
RESOURCES ON DECLUTTERING AND SIMPLIFYING WITH KIDS
- How to declutter your home and life – a complete guide to clearing clutter and keeping it away with simple tips and extra resources to help and inspire you!
- How to declutter craft supplies for creativity and joy
- How to simplify back to school and school routines
- Simple tips to make weekends and school holidays fun for everyone
- Declutter Starter Kit – a free workbook to help you start decluttering your home, schedule, heart and mind.
DON’T MISS OUT!
I’m Antonia and on this blog I share practical inspiration to simplify your home, time and life. Follow me on Instagram, Facebook and Pinterest! You can also subscribe to Balance Through Simplicity and receive regular simplicity tips straight to your inbox for free. Make sure you never miss an article plus you’ll get a copy of my free Declutter Starter Kit as a welcome gift!

